Painting indoors during winter can be a fantastic way to refresh your space, especially when colder weather keeps us inside more. However, winter brings unique challenges, from ventilation issues to the added drying time required for paint. With a little planning and a few key tips, you can make your indoor painting project a safe, comfortable, and successful experience. Here’s our guide to what to do—and what to avoid—when painting indoors during the winter season.
The Dos of Winter Indoor Painting

1. Do Choose the Right Paint Type
Cold temperatures can affect the quality and durability of paint. Opt for paints with low or zero VOCs (volatile organic compounds) to reduce indoor air pollutants, as these paints emit fewer fumes and are safer for indoor use. Also, check the manufacturer’s recommendations, as some paints are specially formulated for cold weather and dry more effectively in cooler indoor climates.
2. Do Ventilate the Room Properly
Ventilation is crucial for safe indoor painting, as it helps to dissipate fumes and prevents them from building up in your home. Even in winter, try to open a window slightly or use fans to circulate fresh air. Place a fan near an open window facing outward to help pull fumes outside while drawing fresh air in from other parts of your home.
3. Do Use Space Heaters Safely
Cold temperatures can lengthen drying times, so you might want to use a space heater in the room you're painting. However, be cautious: place the heater in a well-ventilated area away from walls, paint cans, and flammable materials. Avoid pointing the heater directly at painted surfaces, as this can lead to uneven drying and blistering.
4. Do Plan Your Project in Sections
Tackling a whole room at once during the colder months can be overwhelming, especially with limited ventilation. Consider painting in sections to minimize the area exposed to fumes at any one time. Start with smaller areas and close doors to isolate the fumes, then air out each section individually.
5. Do Use Low-Odor, Quick-Drying Paints
For winter painting projects, select paints that are low-odor and fast-drying. Quick-drying paints help reduce exposure time to fumes and let you complete your project faster. Many brands offer low-odor paints that are ideal for indoor use and allow you to enjoy your refreshed space sooner.
The Don’ts of Winter Indoor Painting
1. Don’t Skip Surface Prep
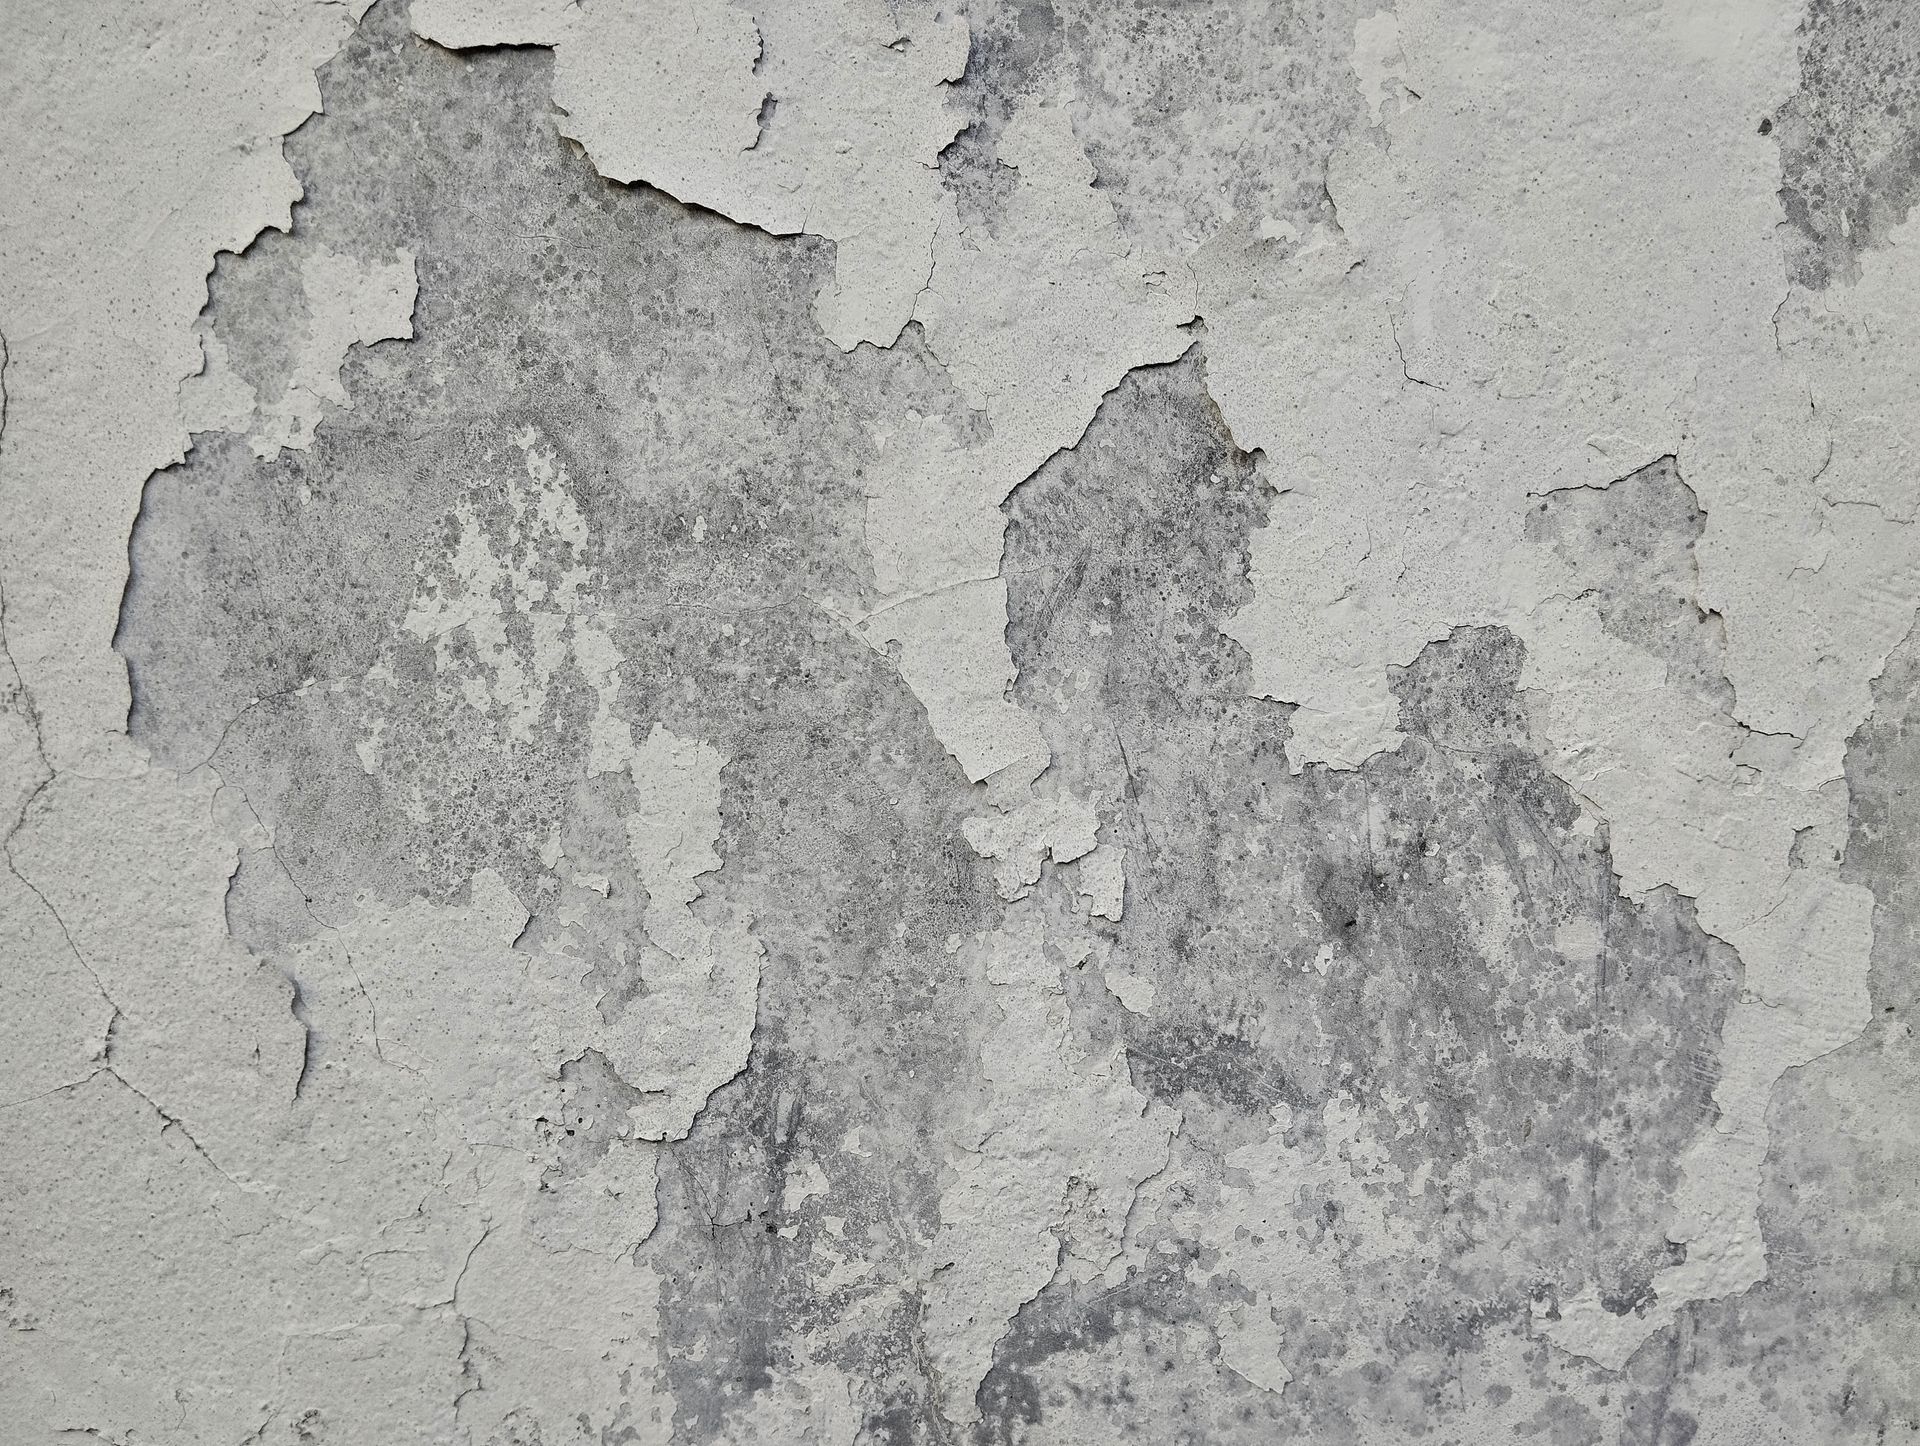
In winter, indoor surfaces can collect dust, moisture, and residue from heating systems. Skipping proper preparation can cause paint to adhere poorly or result in uneven finishes. Before painting, thoroughly clean and dry walls, repair any cracks or imperfections, and consider using a primer suited to indoor winter conditions.
2. Don’t Overload on Paint at Once
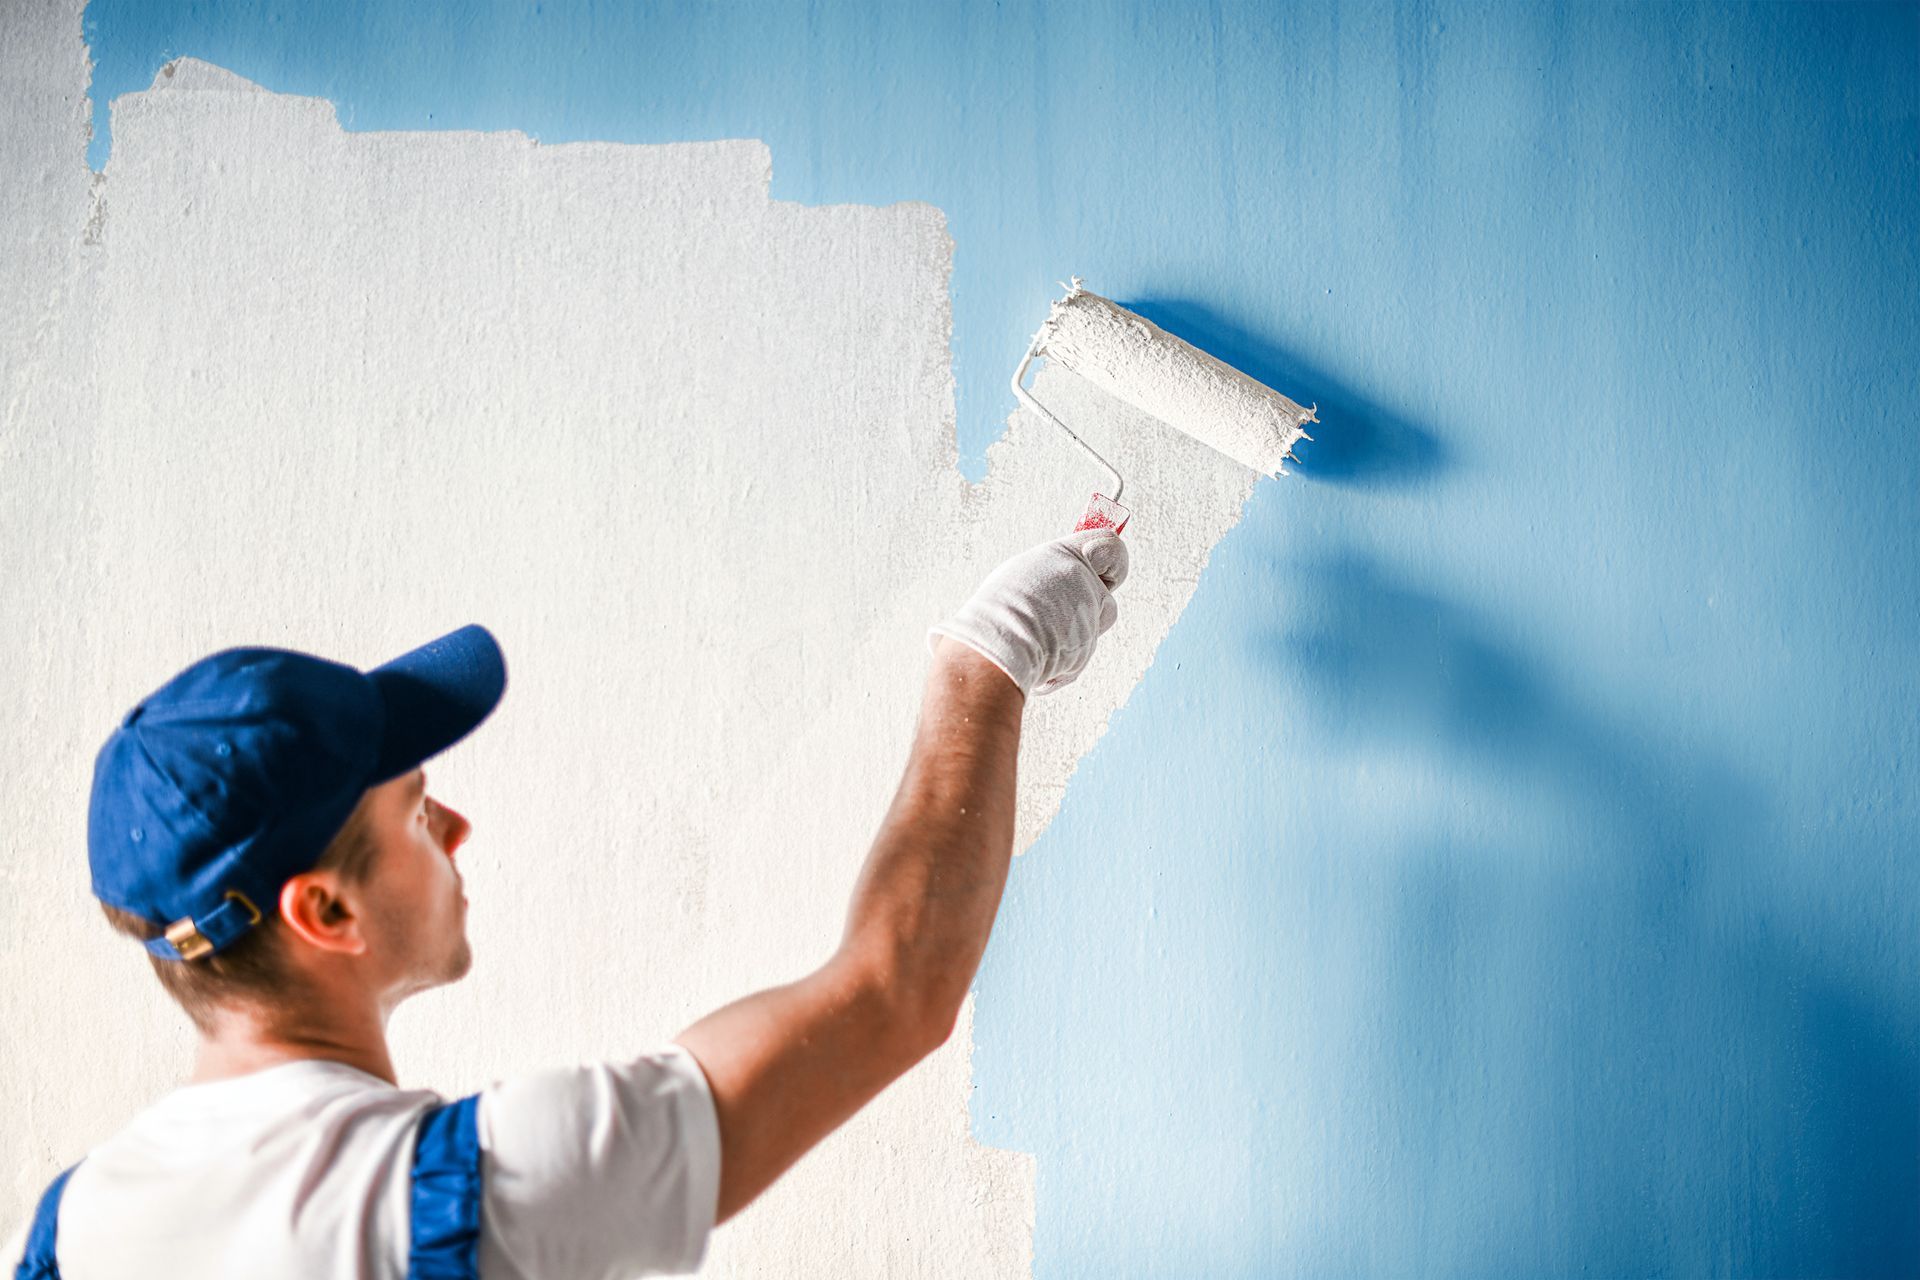
Applying thick layers of paint may seem like a time-saver, but it actually extends drying times and increases the likelihood of drips, uneven finishes, or peeling. Apply thin, even coats and allow sufficient drying time between each layer. This ensures a smooth, durable finish that will last.
3. Don’t Use Paints with Strong Odors
Winter makes it harder to ventilate rooms effectively, so avoid paints with strong odors or high levels of VOCs. High-VOC paints can lead to headaches, nausea, and dizziness in closed indoor environments, especially in homes with heating systems circulating air. Choosing low-VOC or zero-VOC paint is safer and more comfortable for winter indoor projects.
4. Don’t Forget to Test for Humidity Levels
Indoor humidity can fluctuate during winter due to heating, which can impact paint drying and adherence. If the air is too dry, paint may dry too quickly and lead to cracking. Conversely, too much moisture can cause it to dry unevenly. Using a humidifier or dehumidifier can help keep humidity levels balanced around 40–50%, the ideal range for painting indoors. This
5. Don’t Rush the Process
Winter indoor painting can take slightly longer to dry, even with good ventilation and controlled heating. Rushing the process by layering too quickly or exposing painted surfaces to excessive heat can lead to peeling, bubbles, or cracks. Allow each coat to dry fully and be patient with drying times to achieve the best results.
Final Thoughts: Stay Safe, Warm, and Creative
Painting indoors in the winter can be a fun, cozy project that refreshes your living space without waiting for warmer months. By following these dos and don’ts, you’ll create a safer environment and achieve a flawless finish, regardless of the chilly weather outside. Take your time, be mindful of safety, and soon you’ll have a beautifully painted interior to enjoy all season long!
Recent Blogs


